
Last Updated on 2 years by admin
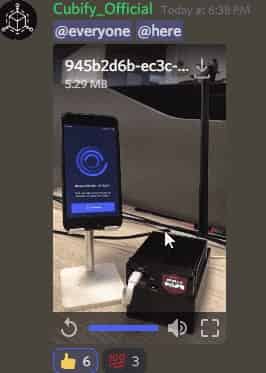
The Hottest Helium Miner COTX-X3 is now in market. So, let’s check out how easily we can set it up. This guide is based on an official release which was posted by Cubify Official.
Setting up COTX-X3 Helium Minier
As the first step you need to install the app Helium Hotspot on your mobile device.
If you are setting up the 1st Helium Minier or if you haven’t registered in the app you need to follow the steps in the app. Helium Hotspot app will show twelve words, make sure to note it down. It will be required when you access the app from another device. Also, you need to provide a 6-digit PIN code as the password.
When you open the Helium Hotspot for the first time, it will request you to provide location access. Recommended to use while using the app option.
Step Guide – Helium Miner Installation
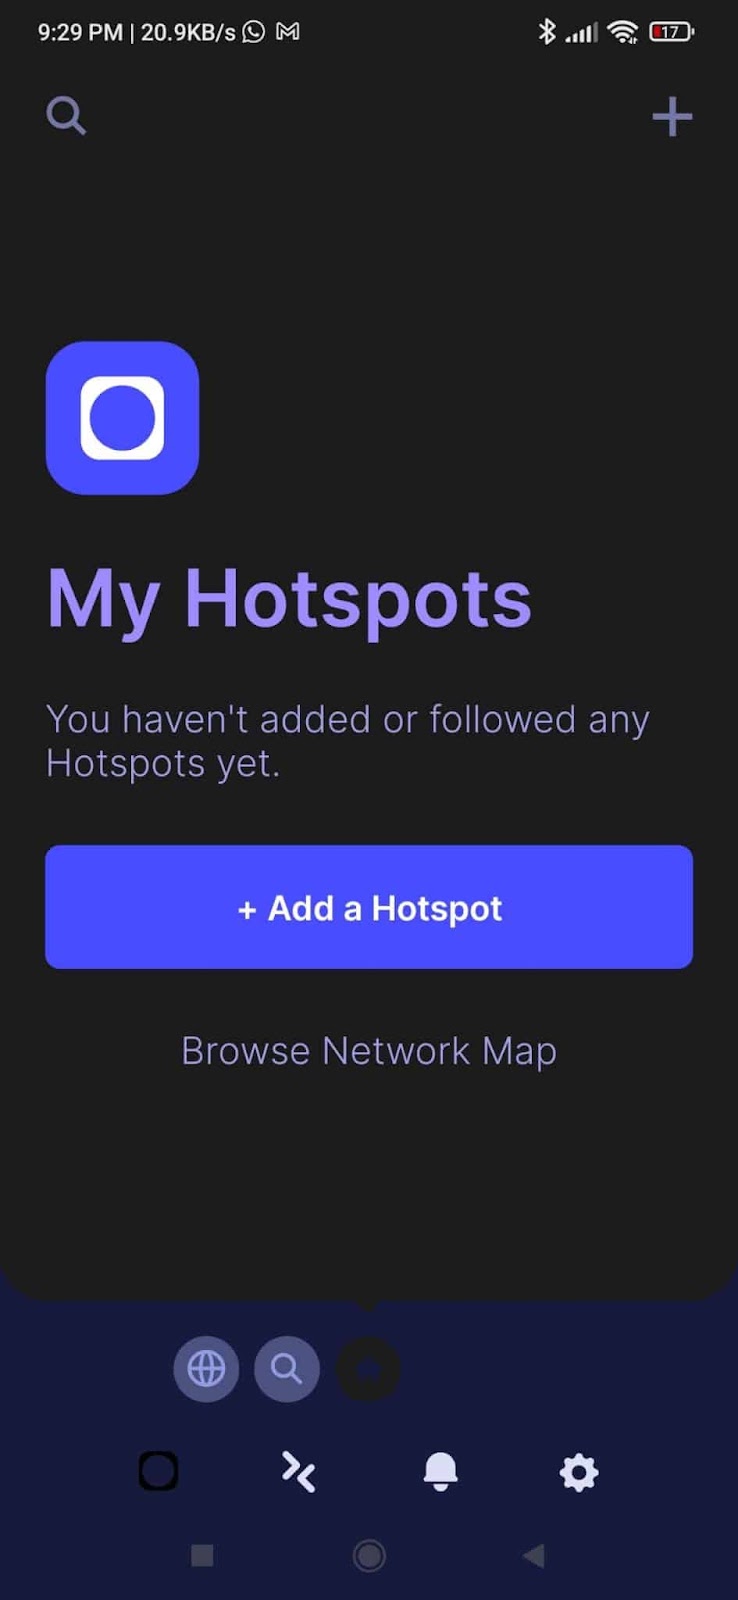
- On the Helium Hotspot app click Add a Hotspot button

- Select your Helium Minier from the list. Since we are currently installing COTX-X3 Miner your need to select COTX Gateways
- Next, you will see a tip on placing the Hotspot. Press Skip for Now
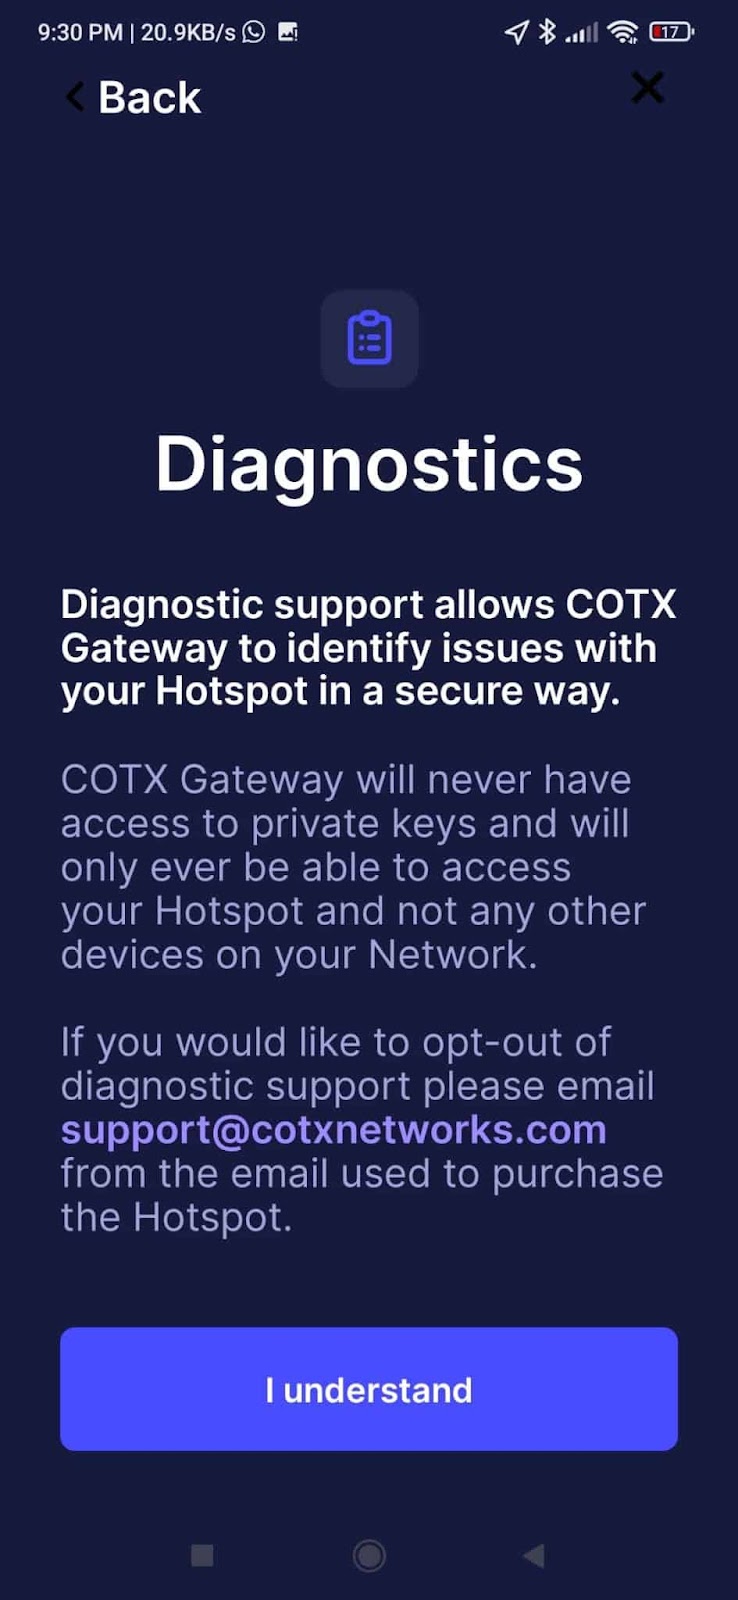
- On the diagnostics page, touch on “I understand” button
- Power up the COTX-X3 Miner
- On the App select “I’m powered up”
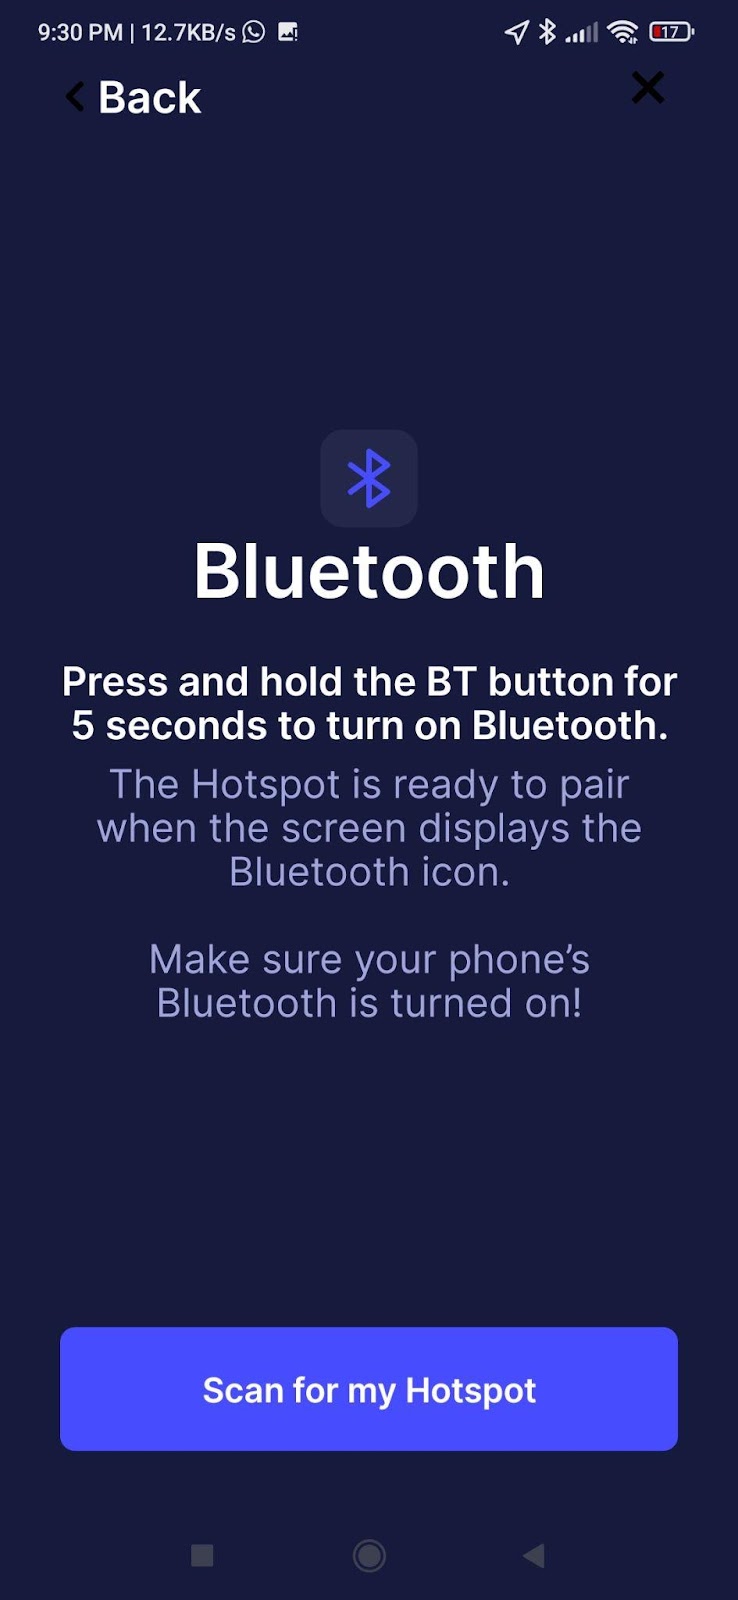
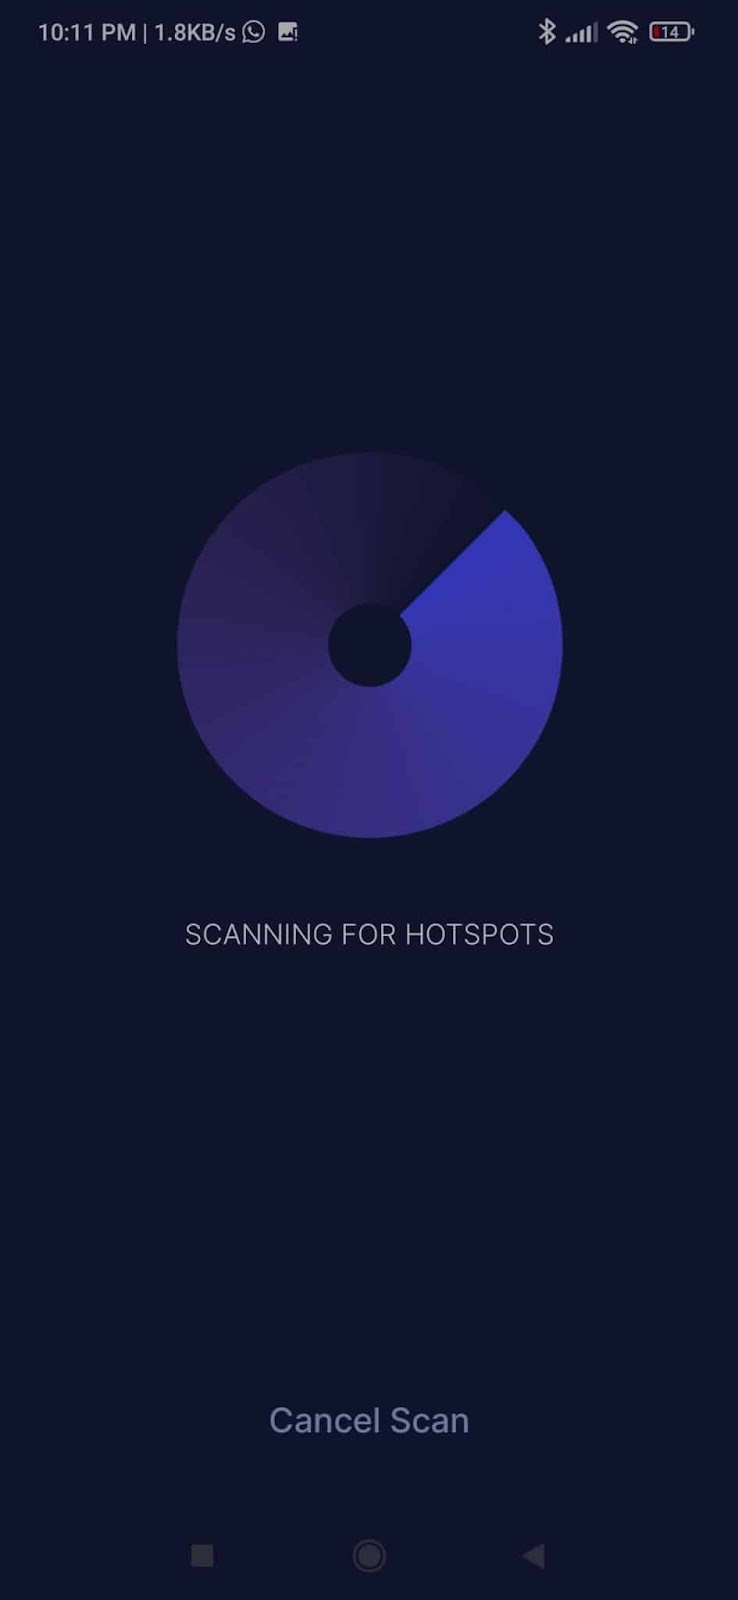
- Once the Helium Miner is powered up and ready for connecting press the “Scan for my Hotspot”
- You should see the app scanning for the Helium Minier
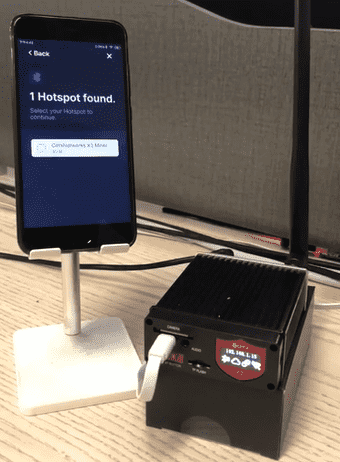
- If everything works well the Helium Hotspot should detect the Minier, if not re-start (power off / power on the miner) and rescan
- Once you see the Minier on the Helium Hotspot verify it’s the correct device and touch continue.
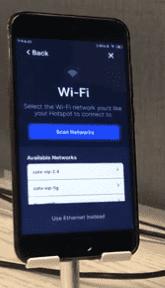
- Again, you will see scanning animation. Select the Wi-Fi connection that the miner should connect.
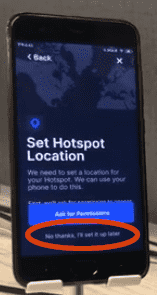
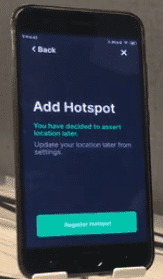
- Select “No thanks, I’ll set it up later”
- Register Hotspot
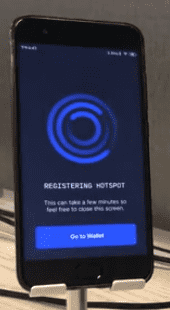
- You should see the registering Hotspot Animation
- Finally, once the setting up of the COTX-X3 Minier is complete the Helium Hotspot app should display “Go to Wallet”


This completes the setting up of the Helium Minier. If you haven’t ordered your Helium Minier checkout our previous post to identify what’s special in COTX-X3.
Reach us through comments for more details or follow our previous posts.