
Last Updated on 2 years by admin
A common issue that most organizations hold back from using Android for their workplace is lack of control over the devices and data. But now you can easily Deploy Apps on Android using Meraki Mobile Device Management. It also allows you to limit access to end users as preferred.
In our previous series of posts related to Android Enterprise we have shared step guides on how to add Android devices to Meraki Dashboard. And how to create work profiles on Meraki. If you are not familiar with the above steps, please revisit the guides before going ahead with app deployment.
Pre-Requirements for App deployment using Meraki MDM
- Trial or paid access to Meraki Dashboard / Meraki MDM
- Android Devices listed in Meraki Dashboard
- Google account. It’s better to use a separate account for this purpose.
Process of App deployment on Android devices – Summary
- Link Google Account with Meraki MDM
- Authorize apps for deployment
- Sync selected apps with Meraki MDM
- Tag the apps & Profiles
Link your Google Account with Meraki MDM
In this section you will be guided with the required steps to add the Google Account with Meraki Mobile Device Management. Follow the step guide below.
- Login to the Meraki dashboard
- Click on the Organization button on the left border then select MDM

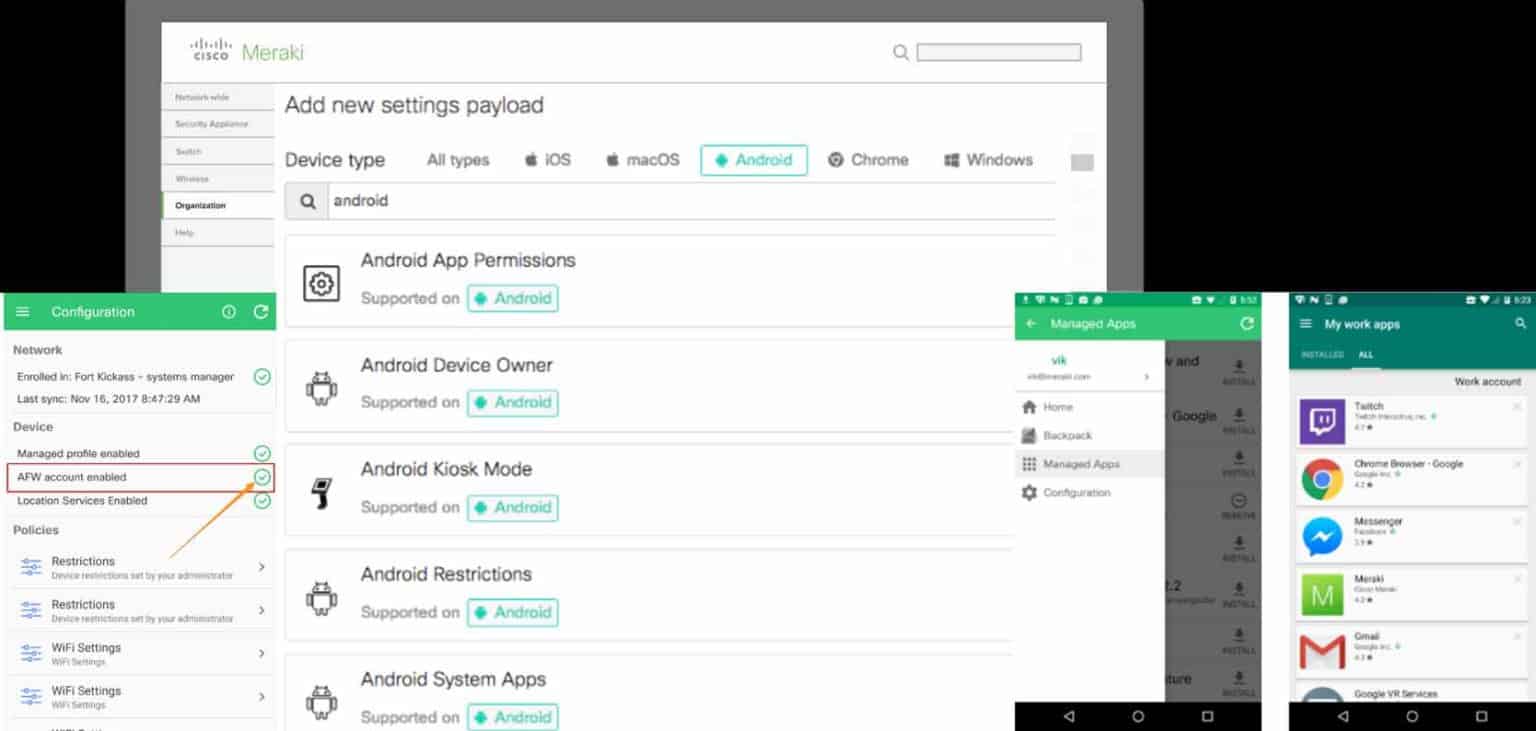
- Then scroll down until you find “Android Enterprise”, now add your Google account, and hit enroll. The device I use is enrolled to Meraki therefore, it displays as unenroll in the screenshot.
- Now you have successfully linked the Google account with Meraki MDM.


Next we need to select the Apps required for deployment.
Access Android Work App Store
In this section guide how to access the Android Work Apps. This section allows you to authorize the required applications for deployment. Access Link — https://play.google.com/work
- Login to the above link using the same account that was used to link the Meraki Mobile Device Management
- Search for the application that you need to deploy through Meraki MDM.
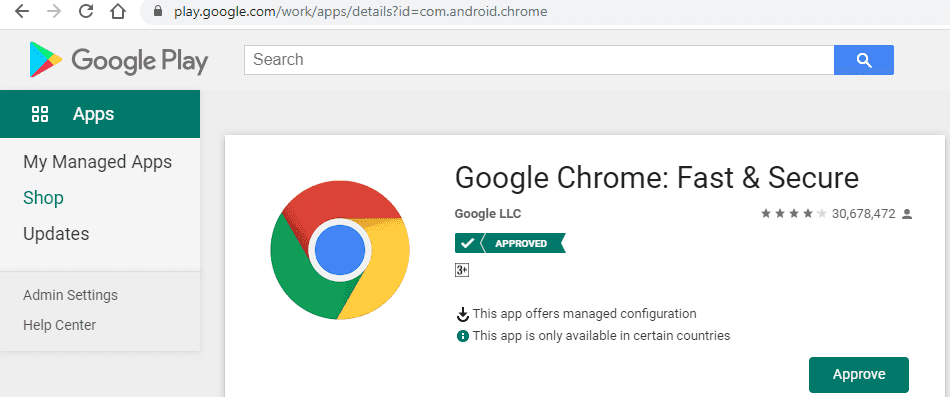
In the below example we are showing how to deploy Chrome. The process is the same for any application found in the store. - Search for Chrome on the top search bar of the android play store which you logged using the above link.
- Click on the application and hit the “Approve” button as shown in the image.
- A new Window will pop up where you need to select Approve again
- Now you will be prompt with two options. Usually, the best option to proceed is the first option — Keep approved when app requests new permissions.
- Finally, select “Done”
You can follow the same process for all required applications.

Once you have completed approving all the applications that are required for deployment go to the next section.
Synchronize Apps from Google Store with Meraki Mobile Device Management
So, move back to Meraki Dashboard
- Go to System Manager > Apps
- Go to Accounts in top right-hand side and select “Sync Android Enterprise apps”
- Once the sync is successful it should list all the applications that were authorized in the Google Store. Also, you can check the image below to get a clear idea.


- Next you need to select each application and set Options and Tags. We will be using Google Chrome to demonstrate the process. Click on the Google Chrome.
- It should open the application, and somewhere in the middle left you will see “Options”. Here’s the best settings we recommend.
- Go further below to the “Targets” section, here we need to provide tags for the system to identify applications. This is important if you have diverse groups that require different applications. In such situations you need to create different profiles for each group and tag applications accordingly. For this demo we use the tag as “Tabs”
- Go to Scope and select “with ANY of the following tags”
- Under Device tags type “Tab” or any name that you prefer.

- Follow the same process with all the Apps that you need to deploy. Also, once you register the tag name it will automatically display in a drop-down menu.
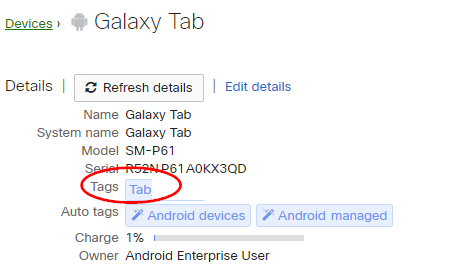
Now you are almost done with the deployment process, next you need to add tags to the android devices to identify which device goes with the Profile. In another way, devices and profiles should have the same tag. Since we used “Tab” as the tag we will be using the same tag for the device and profile as well.
Here’s a screenshot of the device with the tag — Tab
Also, the screenshot below shows how the tab is provided for profile
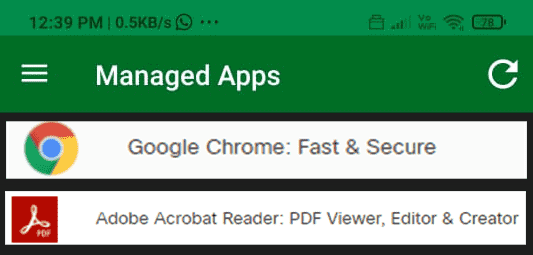
Now make sure your android device is connected to the internet and open the Meraki SM app. After that, you should see the applications starting to roll out. If not, do a refresh in the top right corner of the Meraki App and wait for a few mins.
Note-
Hope the guide was clear, and if you have any questions, please feel free to connect through the comments section. Finally, we would like to keep everyone informed that Meraki is not paying us or supporting us in any form. We just shared some interesting facts from our research to clarify.